Ollama is a powerful and easy-to-use tool for working with large language models (LLMs) such as the Llama 3.3 model. This guide will walk you through the process of installing Ollama on Ubuntu 24.04, particularly on cloud servers like AWS or DigitalOcean, to use the Llama 3.3 model. This model is known for its advanced capabilities and is suitable for natural language processing tasks, making it ideal for research, development, and AI-powered applications.
If you’re interested in exploring other top LLMs, check out our List of the Best Large Language Models (LLMs) in 2025.
Minimum Server Requirements for Llama 3.3 Model
Running the Llama 3.3 model requires more computational resources than earlier versions due to its increased complexity. Below are the minimum server requirements for successfully running the Llama 3.3 model in a cloud environment such as AWS or DigitalOcean:
For Cloud Servers (AWS, DigitalOcean, etc.):
- Operating System: Ubuntu 24.04 LTS or later
- CPU: 4 vCPUs or higher (preferably Intel or AMD with AVX support)
- RAM: 16 GB of RAM (minimum, 32 GB recommended for better performance)
- Disk Space: 50 GB of free SSD storage (due to the model size, a higher disk space may be needed depending on your use case)
- GPU: A GPU with CUDA support is highly recommended for running Llama 3.3 models efficiently. Consider a machine with NVIDIA GPUs such as AWS EC2 instances with Tesla T4 or A100 GPUs.
- Network: Stable internet connection for downloading large model files and updates
- Swap Space: At least 8 GB of swap space (depending on memory usage, higher swap space may be required)
These minimum requirements are essential for running the Llama 3.3 model in a cloud environment. If you are dealing with particularly large datasets or models, you might need even more resources.
Step 1: Update Your System
Before starting the installation process, it is recommended to update your system to ensure all packages are up to date. Run the following command in the terminal:
sudo apt update && sudo apt upgrade -yThis command updates the package list and installs the latest software updates on your system.
Step 2: Download the Ollama installation package
Next, download the Ollama installation package for Linux from the official website by running the following command:
curl -fsSL https://ollama.com/install.sh | shStep 3: Verify the Installation
After installing Ollama, it’s time to verify that everything is working correctly. Run the following command to check the version of Ollama:
ollama --versionyou can also check the current status of the Ollama service by running this command:
systemctl status ollama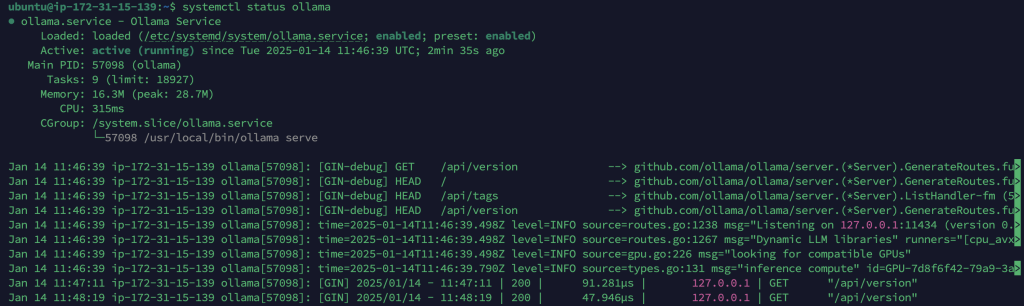
Step 4: Running Ollama with Llama 3.3
To run Ollama with the Llama 3.3 model, you can execute a command like the following:
ollama run llama3.3 input "Hello, how can I use this model for NLP tasks?"The above command will pull Llama 3.3 model and process the input.
Ollama provides a REST API for executing and managing models.
Generate a response
curl http://localhost:11434/api/generate -d '{
  "model": "llama3.3",
  "prompt":"Why is the sky blue?"
}'
Chat with a model
curl http://localhost:11434/api/chat -d '{
  "model": "llama3.3",
  "messages": [
    { "role": "user", "content": "why is the sky blue?" }
  ]
}'
Troubleshooting
If you encounter issues, consider the following:
- Ensure that you have sufficient hardware resources (e.g., memory, swap, and disk space) to handle the Llama 3.3 model.
- Make sure that you have downloaded the correct version of the model for your system.
- Responses will be very slow if we use the minimum system requirement.
For additional help, consult the official Ollama and Llama 3.3 documentation or seek support from their respective communities.
Conclusion
Congratulations! You’ve successfully installed Ollama on your Ubuntu 24.04 system with the Llama 3.3 model. Whether you’re running NLP tasks, conducting research, or building AI-powered applications, you now have access to a powerful model in a flexible environment. If you encounter any problems during installation or usage, feel free to revisit this guide or consult the official documentation for further assistance.